So, how do you get kids involved in relief printmaking without all of the sharp knives and gouges and the inevitable bleeding thumbs? Scratch-foam boards. Okay, so they seem silly. They’re basically the equivalent of foam meat trays (which you can use in their stead,) but they hold up surprisingly well. And you can use both sides. Plus they’re pretty cheap! And you don’t need any carving tools.
I tried these scratch-foam boards out with my Art Materials & Techniques for the Classroom Teacher Course and had pretty good success. We proof printed (practice prints) onto regular copy paper, using a clean brayer to print. Then we printed our plates onto sheets torn from an inexpensive roll of Kozo paper, some of which we watercolored before printing.
So, how do these work? You can either draw directly into the foam with a ball point pen, hard pencil or a wooden skewer or you can lay a drawing overtop of the board and trace it with a ball point pen, bearing down hard.
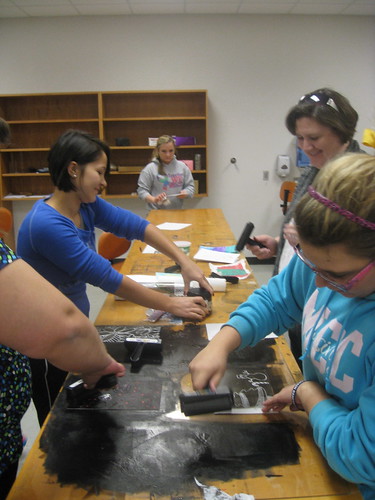
Then, spread out a little water based relief printing ink on a scrap of glass, plexi glass, or the lid of a rubbermaid container with an old credit card or similar plastic card and roll it out with a rubber brayer. Roll the plate with the ink until it is evenly covered. Place the paper on the block face down, and roll from behind with a clean brayer from a couple of different directions. Pull of your print and repeat! The block cleans up easily with water.
If your prints come out a bit salty (light,) lay out a bit more ink and roll them up fuller.
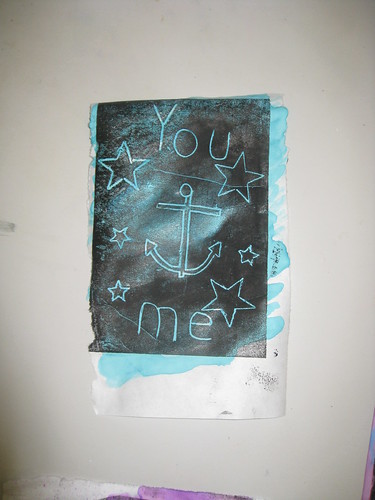
Remember, all text needs to be created backwards on the block in order to print in the correct orientation. Try using basic lettering stencils backwards if you want an easy way to orient your text correctly.
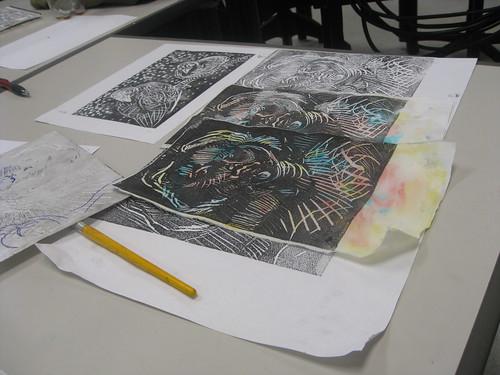
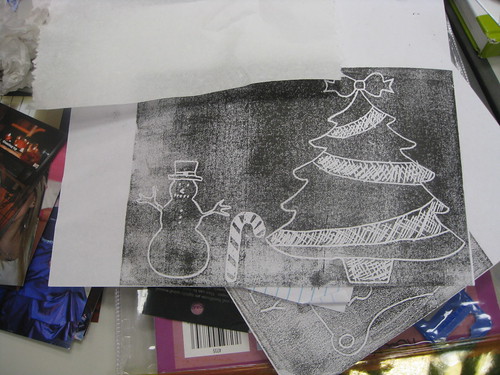
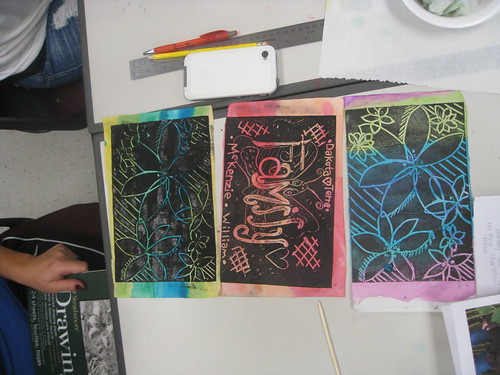
Above, you can see my scratch board with a few of my prints from the block. If you don’t have relief printing ink, you can paint gouache, acrylic paint or tempera paint onto the surface of the block with a paintbrush, foam brush or your fingers, press paper into the block and burnish the back with your hands or the back of a clean wooden spoon.
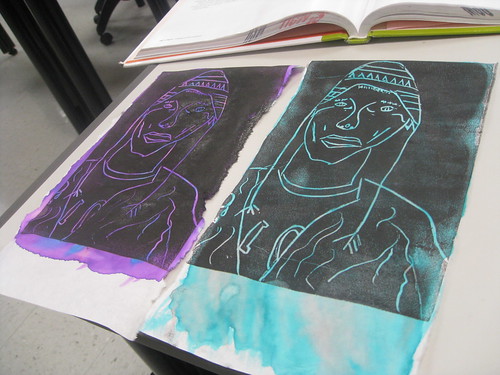
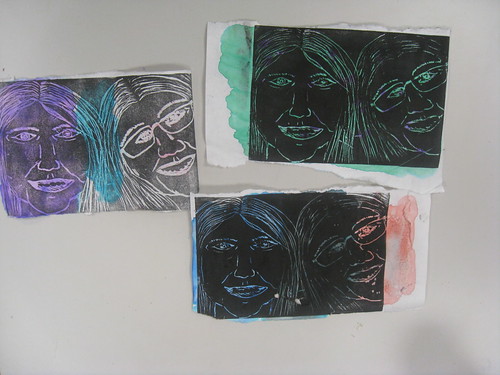
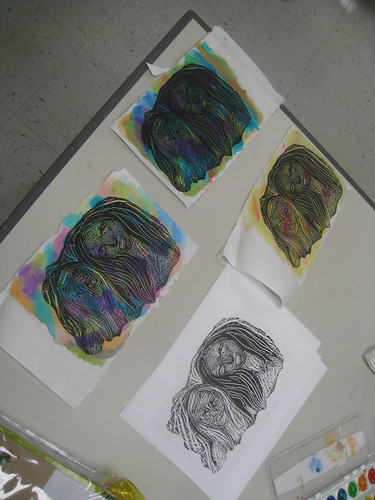
Griffin’s self portrait pops on different watercolored backgrounds.
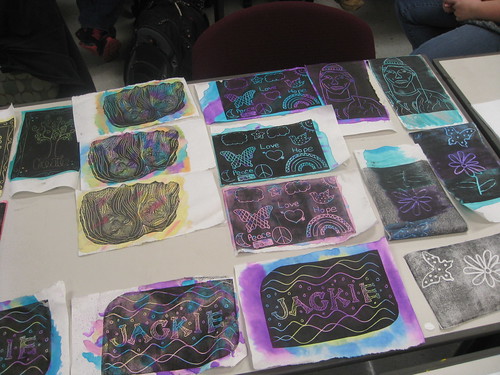
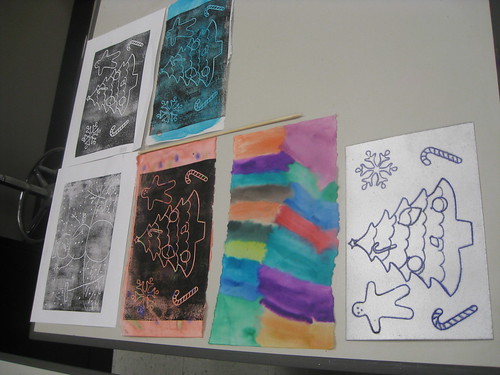
A collection of prints by my students.
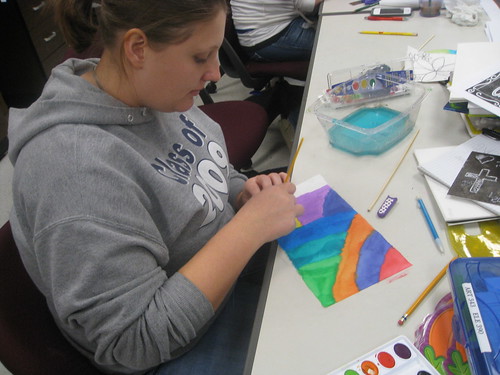
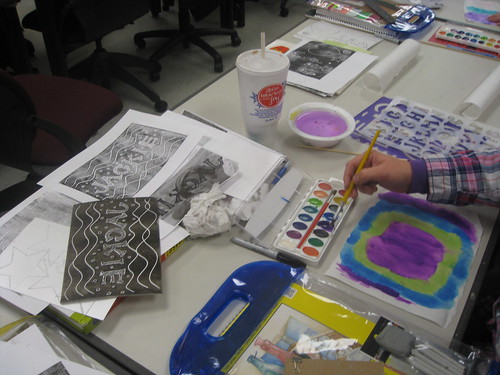
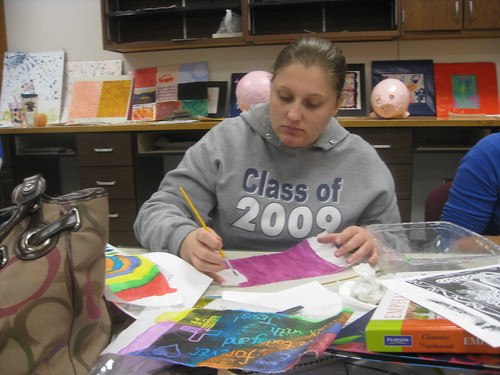
Watercoloring paper to be printed.
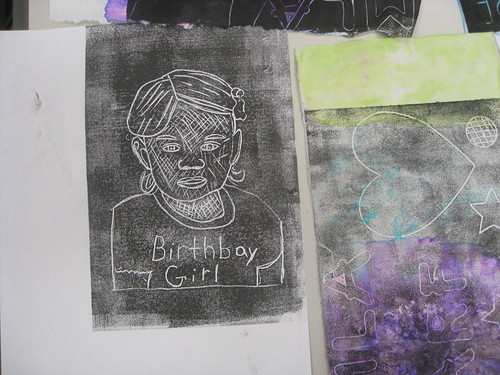
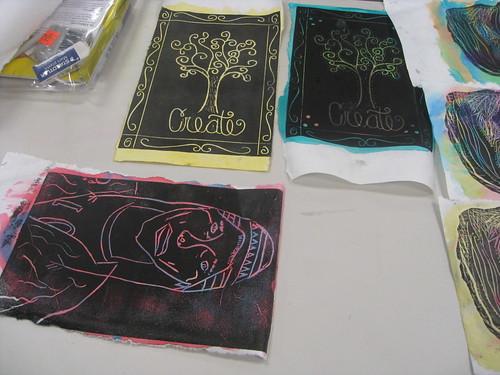
Oops! Backwards “d” proves challenging! But an interesting portrait. Looks like a Gaugin drawing.