I love being able to make my own books for note-taking, grocery lists, gifts, journaling and sketching. You can spend a ton of time and cash looking for an interesting journal with good quality paper, or you can make your very own at home! In this tutorial, I’ll show you a basic 4-hole pamphlet stitch using up-cycled materials, and you’ll be binding your own little books in no time!
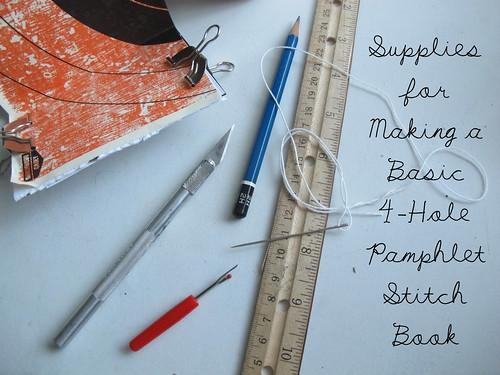
Supplies
- About 10 sheets of approx 8.5″ x 11″ lightweight paper. This can be scrap paper (junk mail, misprints, etc.,) Japanese style papers, copy paper, Mohawk Superfine, or other paper you have lying around!
- 1 piece of lightweight board or thicker paper (watercolor paper, cotton rag printmaking paper, other scrap light-weight board like that box of cereal you just finished)
- 2 bull clips or clothes pins
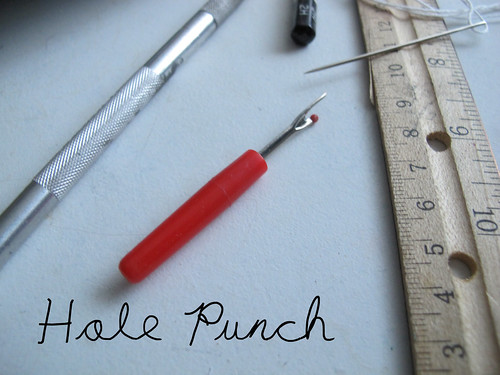
- 1 Awl, Seam ripper, tiny ice pick, or a drill with small bit
- 1 12″ wooden ruler with metal edge or metal ruler
- A gridded cutting board or other surface to cut on top of
- 1 Exacto knife or mat knife with blades
- Embroidery Floss, thin twine, quilting thread or other similar thickness cord in your choice of color!
- Large-eyed needle (embroidery or coat needle) that fits with your thread and a thimble if you use one (my grandma always gets mad at me when I don’t use my thimble!)
- Pencil
- Basic Maths (don’t worry, it’s nothing too difficult or I wouldn’t be able to do it!)
When learning book binding, it’s common practice to start with a simple 3-hole pamphlet stitch. I took Book Arts twice in school because I love the conceptual and structural possibilities of the book. Also, I love reading and sketching and wanted to be able to make my own structures rather than be at the mercy of my pocketbook and local store!
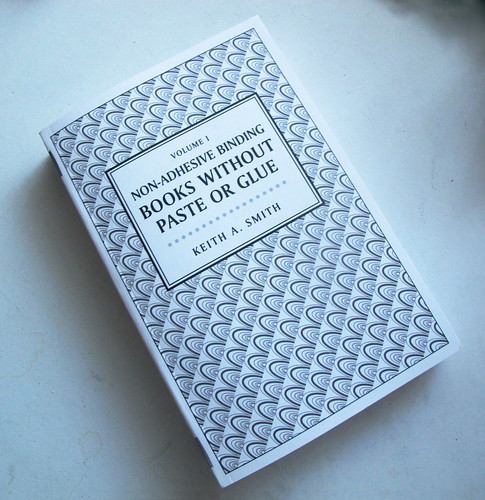
My print mom, Teresa Cole, introduced me to a great book for learning basic binding techniques that I highly recommend to you: Volume I Non-Adhesive Binding: Books Without Paste or Glue by Keith A. Smith. I finally bought my own copy a couple of months ago and am asking myself why I didn’t get it sooner! Word to the Wise: If you find it on Amazon.com, it is listed in some places for $48 and some for more like $28, so make sure you look around for the best deal.
Directions
Y’all are big kids, so let’s skip the 3-hole pamphlet stitch and go right on to the 4-hole version! Since I like to make my little books taller than they are wide, I find that I end up using the 4-hole method more often than the 3-hole. There are several variations on a 5-hole method as well as multi-section pamphlet books, which I’ll show you in a future tutorial.
Step One: Collecting Your Paper
One of the things I love about the basic pamphlet stitch is that it makes it easy to bind together a bunch of different scrap papers. Pamphlet stitch works best with light-weight papers inside and a heavier paper or light board for the cover. For the interiors of my pamphlet books, I usually save scrap drawings, prints, proofs on newsprint, watercolors, mis-printed paper from my printer, typo resumes, rejection letters, targets from the shooting range, junk mail, and so on.
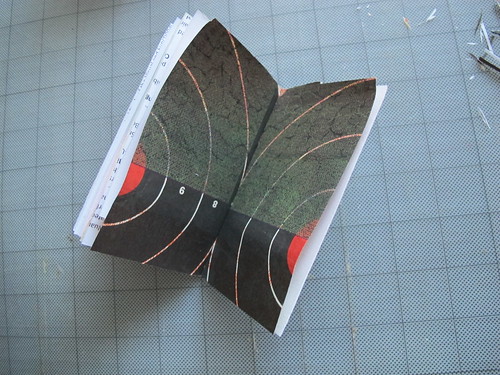
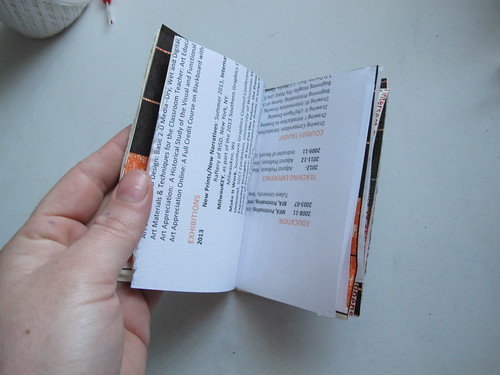
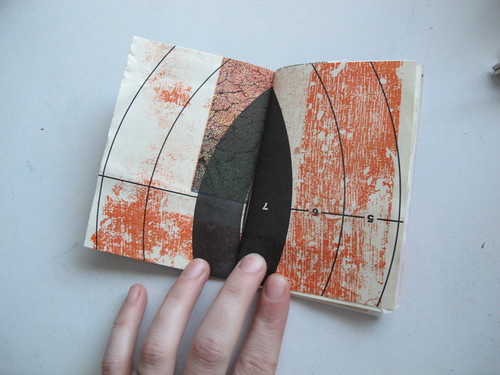
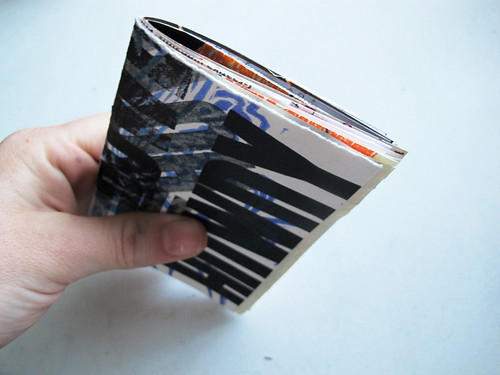
The book I’m making in this tutorial is filled with old versions of my CV inkjet printed on resume paper and a target from a shooting range that I proofed a CMYK screen print and a woodcut in orange ink on top of.
For the covers, I use scrap BFK Rives or other cotton rag paper cut down from old prints or prints I don’t like. This cover is a proof of my paisley postcard design with some wooden type I printed on top in black ink to test how well the C&P press that I’m restoring at Les Cheneaux Design works.
You could use similar cotton rag paper, thick watercolor paper, spare thin board (how about a Lucky Charms book cover, for example?) or other–be creative! You can use anything that you can score and fold down the center and that you have the ability to punch or drill small holes through. I like it to have some sort of design or imagery on it already, but there’s no reason you can’t start with a blank cover and decorate that, too!
Step Two: Cut and Fold your Pages and Cover
In any case, decide on a size for your final book (I chose 4.5″ tall by 3″ wide) that will make the most out of the scrap papers you’ve collected. For a 4.5″ tall by 3″ wide booklet, you will need to cut your cover and your interior pages down to around 4.75″ tall and 6″ wide.
Fold all of the pages and the cover in half so that they go from 6″ to 3″ wide. This will give you your pages! Traditionally, book artists use a piece of bone or thick plastic called a “bone folder” to run along the folds of their pages and make sure the fold sits very flat. You can use a wooden spoon to get a similar result! You’d be surprised how much using this simple tool to flatten your paper folds will help your final book sit flat.
Note: It’s ultimately up to you how many pages you want. 1 paper folded in half = 4 pages. I used 10 4.75″ x 6″ sheets folded in half to = 40 pages in my little booklet. Just keep in mind that you can’t get too thick with a single pamphlet stitch, or it will become hard to open your book. Later on, I’ll do a tutorial on sewing multiple pamphlets into a single cover to achieve a thicker book!
Step Three: Measuring and Maths
Nest all of your folded pages within each other and within your cover. Think about which pages will look good next to each other as you arrange your nest. Make sure the folded “spine” of each page nestles in correctly.
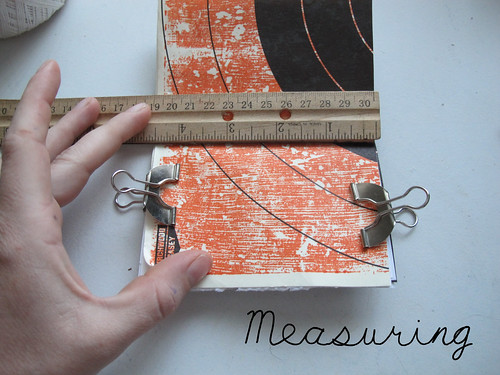
Use two clips or clothespins around all of the pages and the cover to hold them in place.
From the inner spread/page, measure the height along the spine of your book. Mine was a little over 4.5″ tall. Measure in at least 0.25″ from the top and the bottom and put a dot along the center fold using a pencil.
Next, measure the distance between these two dots. Mine was about 4″. Divide this measurement by 3. The result will be the distance between each of the 4 holes on your book. Use this result to mark the next two holes using your pencil.
You should now have 4 evenly-spaced dots along your spine that start about 0.25″ in from the edges.
Step Four: Punching Your Holes
Make sure the clips are securely holding your pages together and your pages to your cover. Make sure all of the pages are nicely lined up behind the center spread. It’s okay if you find your pages don’t line up exactly at the edges because we will trim down the whole book later.
Everything Good? Ok. Now, use a seam ripper, thin ice pick, other sharp pointy metal thing or a drill with tiny drill bit (if you have thicker paper/cover) to punch holes right where you marked with your pencil. The traditional book binding tool for this is called an awl. I used to have one, but it got lost over the years, so now I use my seam ripper point to make my holes.
Note: Make sure you make a hole that is just around the size of your needle and thread you will be sewing with. You don’t want it too big or your book won’t be secure!
In an ideal world, you will be able to punch through all of the holes and your cover at once. If your paper is too thick for this, you can use the measurements you figured out in Step Three to mark each page individually with a pencil and punch each page on its own. If you follow this route, just make sure you measure accurately so that all of your holes line up in the end!
Step Five: Time to Sew!
Learn your stations! Each of your 4 holes is a station, 1-4. Naming the stations makes this tutorial less confusing.
Thread your needle with a single thickness of your cord about 4 times the height of your book in length. Do not tie or knot the thread.
Traditionally, you would run your thread over some wax to make it easier to sew with. Feel free to do this before threading your needle by rubbing the thread on an old candle or lump of beeswax.
Picture Sewing Directions
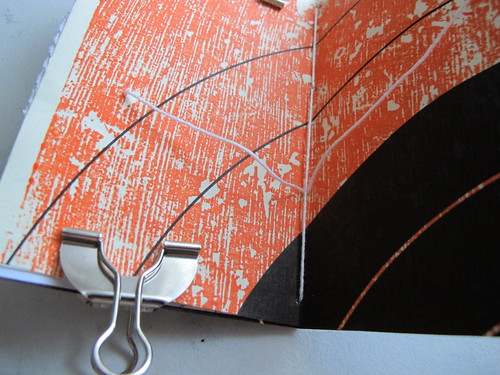
Before knotting, make sure your two ends are on either side of the stitch, as seen below.
Now trim! This is what your book should look like on the inside:
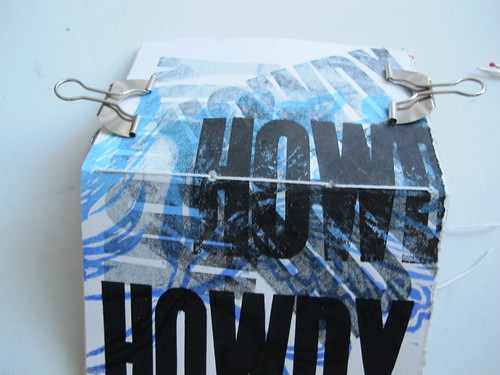
This is what your book should look like from the outside:
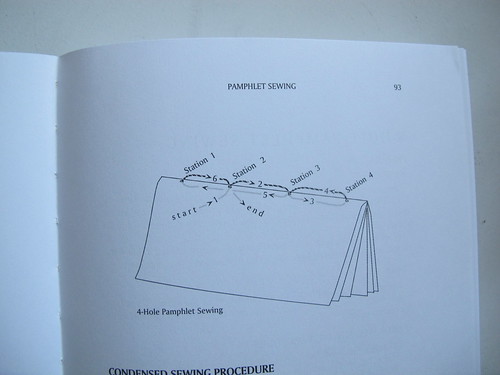
Still confused? Here’s Keith Smith’s fantastic diagram from page 93 of Books Without Paste or Glue.
And here are the directions in text:
Text Sewing Directions
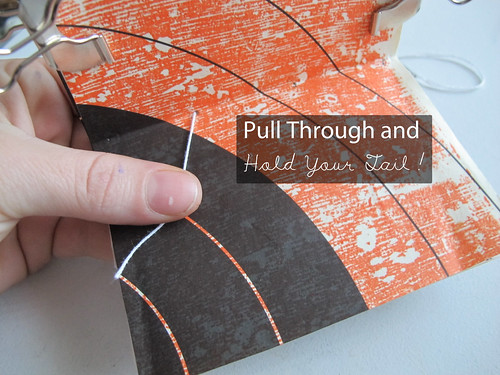
- Start on the inside of your book and go into Station 2 with your needle. Pull the thread almost all of the way through the hole. Hold onto the remaining tail with your thumb.
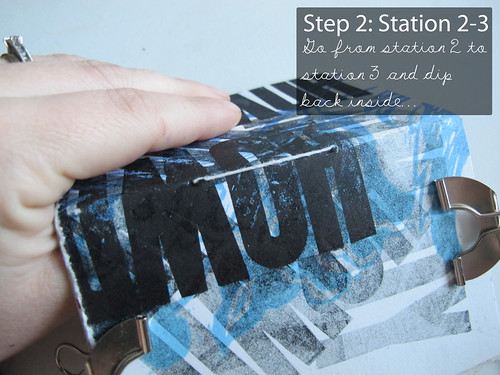
- Now you’re outside! Go from Station 2 up to Station 3 and take the needle back inside the book.
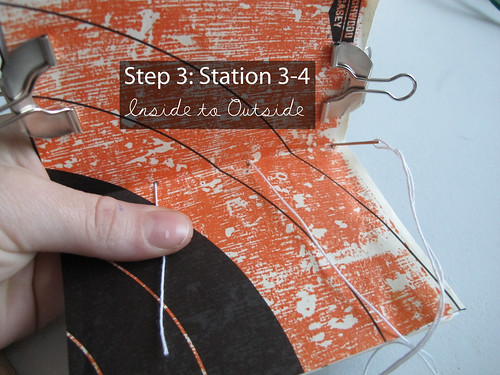
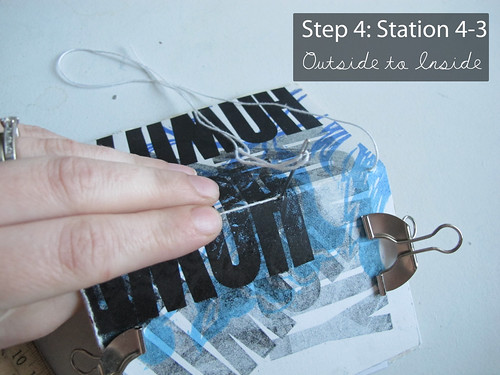
- Now you’re inside! Go from Station 3 up to Station 4 and take the needle back outside the book.
- You’re outside again! Go from Station 4 back down to Station 3 and go back inside.
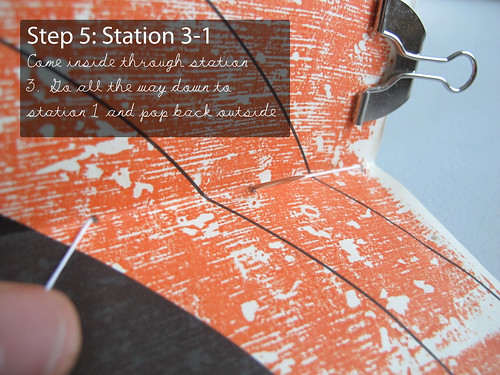
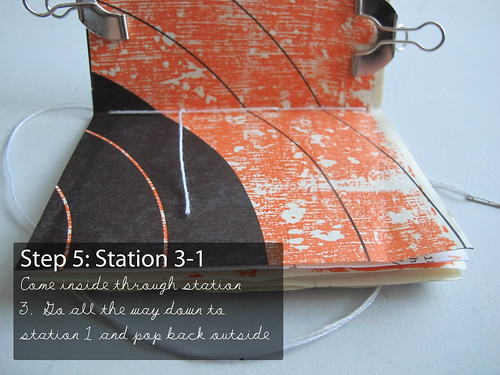
- Now, here’s the trick! Go from Station 3 on the inside all the way down to Station 1 (skip over Station 2) and then go back outside the book through Station 1.
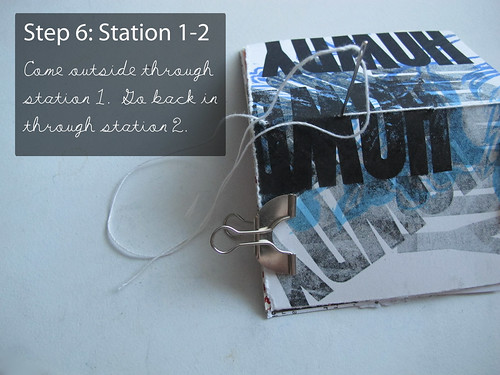
- Now you’re back outside. Take your thread from Station 1 to Station 2 and go back inside the book.
- You’re back where you started! Make sure your tail thread you’ve been holding onto with your thumb and the thread you brought through in Step 7 are on either side of the stitch you made in Step 6.
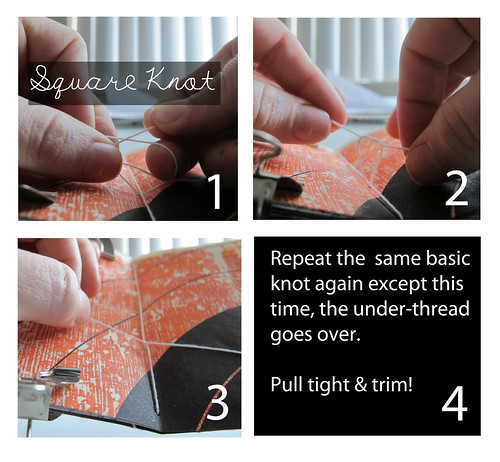
- Remove your needle and tie a square knot with your tail thread and the other thread around your stitch from step 6. What’s a square knot? It’s just tying a basic knot with one thread over the other. Then you tie a second knot using the other thread on top.
- Trim your threads down close to the knot, and you’re done sewing!
Step Six: Trimming Down Your Book
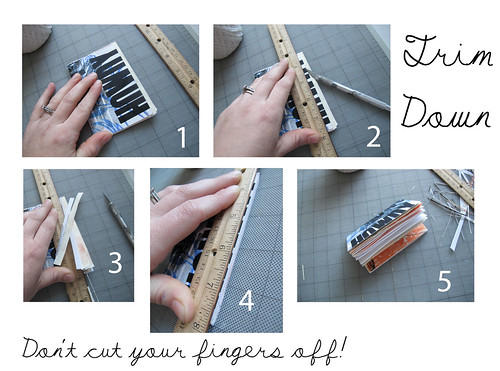
Now, if you’re like me, your pages probably don’t line up exactly with your cover or with each other. It’s cool! You can fix this. Just line up your book on a gridded cutting board so that it’s square and trim down your book block using multiple cuts with an Exacto or other sharp knife. Keep firm pressure down on the ruler so that it doesn’t move and mess up your straight edge. Also, pay attention to where your fingers are so that you don’t cut them.
Trim down each of the 3 open sides. Make sure you don’t get too close to your stitching on the top and the bottom.
Step Seven: Press Your Book
Does your book sit open at the center still because you didn’t use your “bone folder” to crease your pages enough? No problem! Put your book under some heavy weights or other heavy books and let it sit for a day or two. This will help it to stay closed.
You’re Done!
Wasn’t that easy? Now you can make these all the time. They make great stocking stuffers! And they are good to keep in your pocket all the time in case you need to jot down a phone number, recipe or secret password.
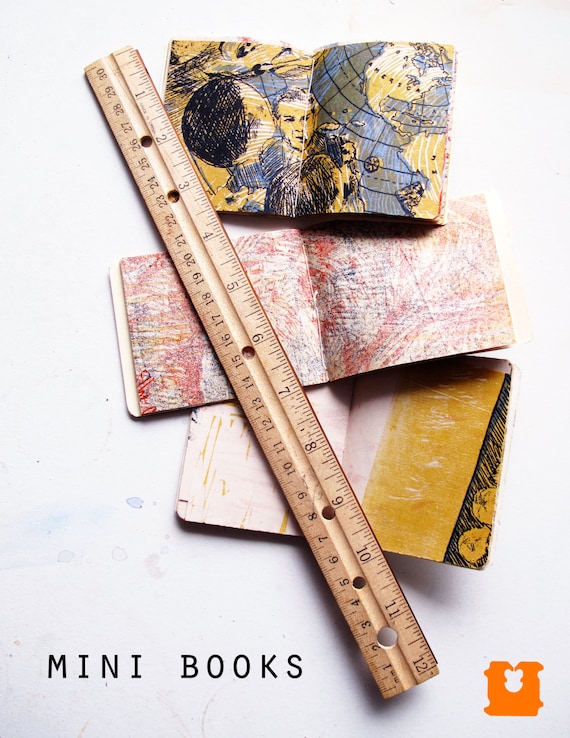
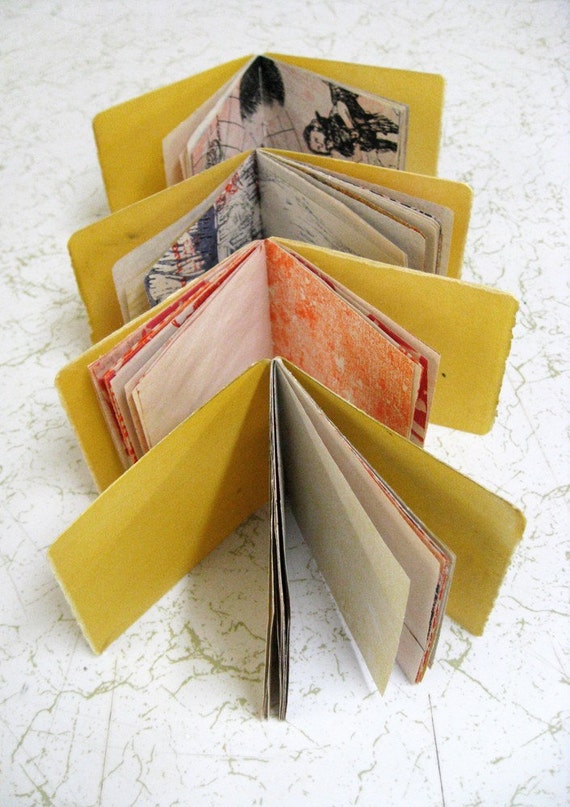
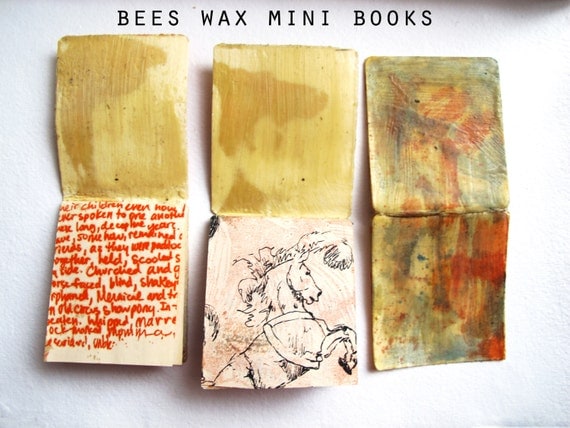
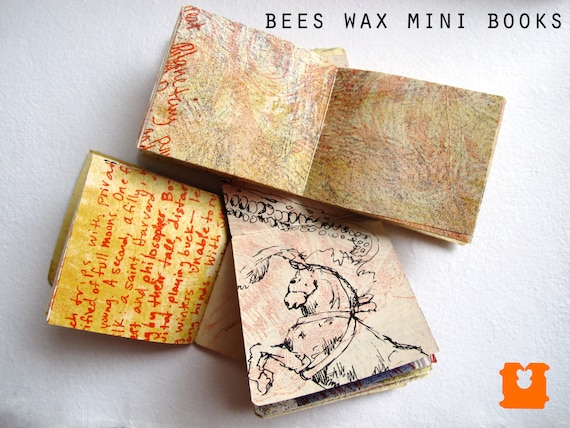
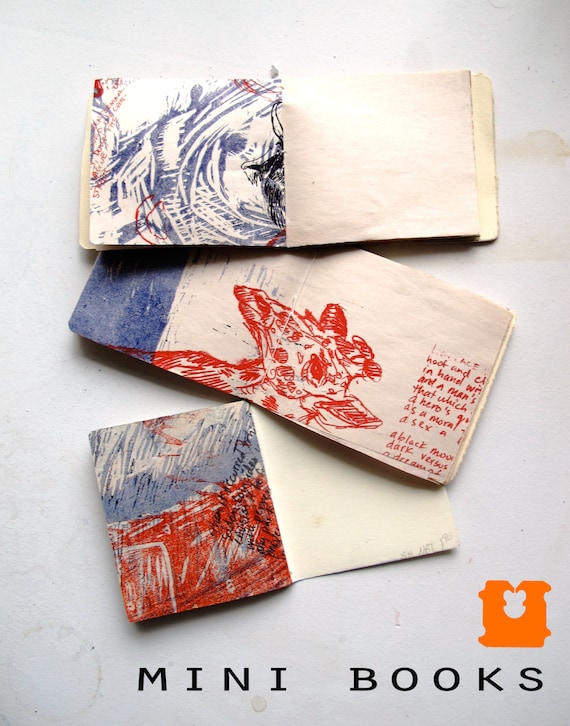
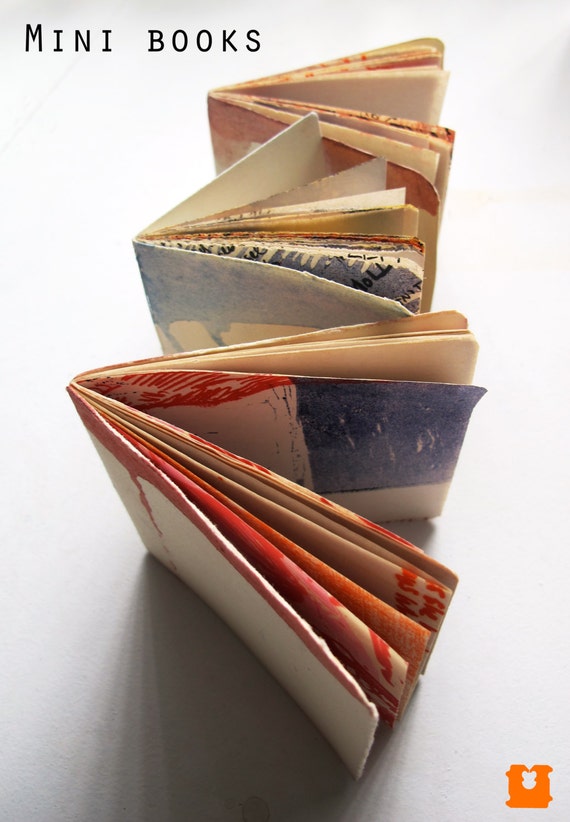
In addition to making books out of junk mail and pages from my inkjet printer when it ran out of ink, I also make books out of my old prints.
You can check out these specialty mini books in our Orange Barrel Industries Etsy shop! Each book features a hand printed cover and a variety of printed pages mixed with blank pages.
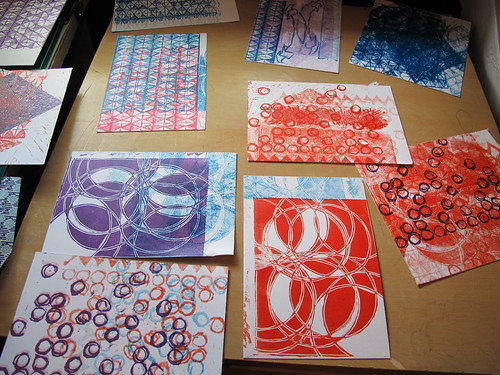
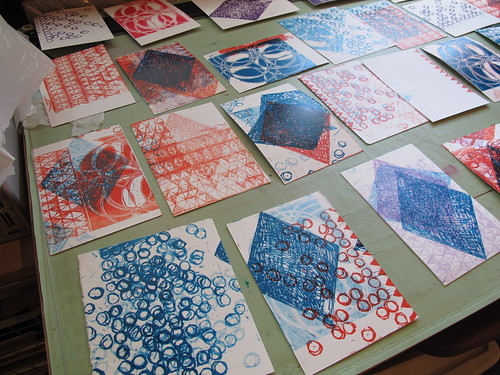
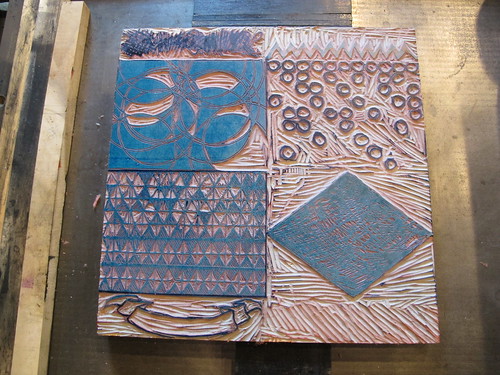
On Friday, I spent the day at Les Cheneaux Design printing up a batch of one-of-a-kind geometric pattern postcards. I’ll probably turn some of them into book covers for our shop, as well!
Hope you enjoyed this tutorial! Stay tuned for more DIY posts on different book binding methods as well as other printmaking-related crafts! To keep posted on our updates, please follow our Blog by signing up at the bottom of this page! You can also follow us on Facebook and Twitter! We post often about calls for entry, art events, exhibitions, tutorials, and the fantastic food we cook at home!






So cool! Great books and tutorial.
Thanks!!
Pingback: My First Zine: “Dear Google, What is the Cutest Puppy Ever?” And Other Drawings | Orange Barrel Industries
Pingback: Orange Barrel Industries » Sketchbook Boot Camp, Weeks 3-4, Tennessee Governor’s School for the Arts at MTSU
Pingback: Orange Barrel Industries » Introduction, Assignment 1: Pamphlet Stitch Passports at Sketchbook Boot Camp, Week 1