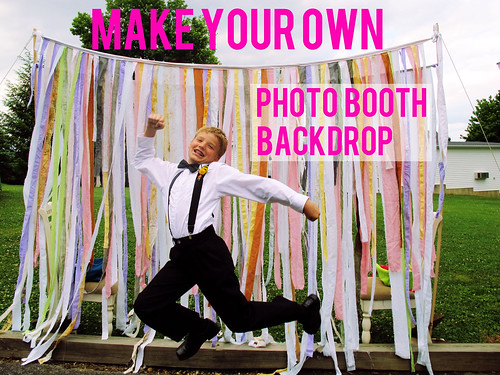
This entry is my first do it yourself crafting tutorial! I will show you step-by-step how to make your own photo booth backdrop from up-cycled bed-sheet fabrics using elementary machine sewing techniques, as well as let you in on how to even do it without any sewing at all, if you prefer! I started on this project a few months ago with my friend Ann Flower‘s wedding in mind, but the backdrop also works well for any photo booth occasion, as a party food or dessert table backdrop decoration, or even as an everyday wall hanging in your home!
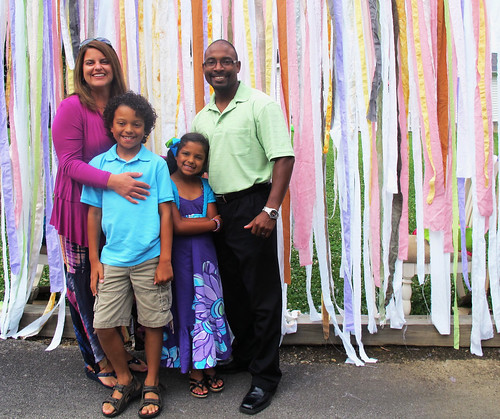
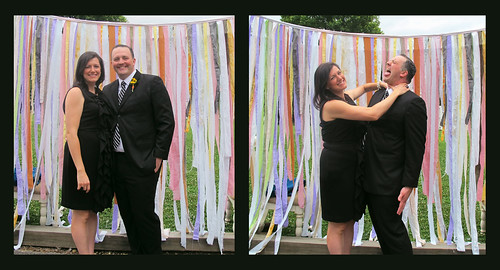
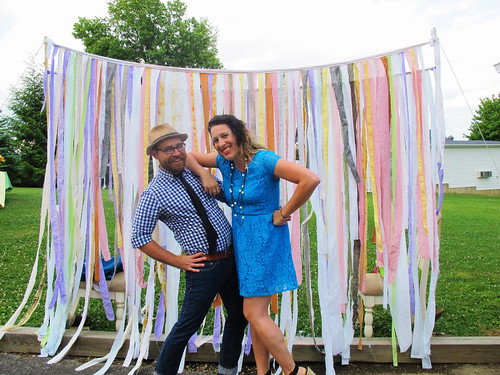
Happy family in front of the backdrop!
This tutorial may seem long and difficult, but it isn’t! I just show lots of images and try to explain things a few different ways to make sure each step is clear, and I offer an alternative way to create this backdrop without sewing if you want an even easier solution. You can always comment with questions, and I would be glad to offer more help!
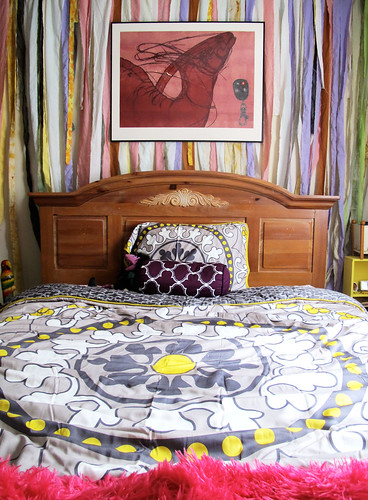
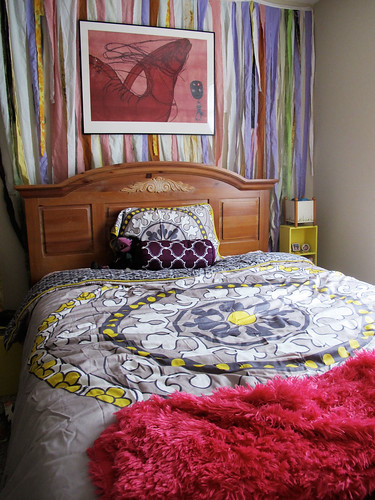
Since the wedding is over, the backdrop now lives behind our bed at home!
Our wonderful artist friend, super-crafter, and blogger Ann Flowers was wed last weekend to her beau, Jeremy Gosser, in a magical hollow decorated with Ann’s palette of shimmery pastels with neon accents. Upon setting her date, Ann asked Blake and I if we would be willing to do the guest sign-in at the wedding. We agreed, of course, and decided to do a photo booth as part of the guest book! After creating a Pinterest board with Ann to throw around ideas, I decided to create a backdrop using bedsheets I purchased from Goodwill as an inexpensive and earth-friendly up-cycled material.
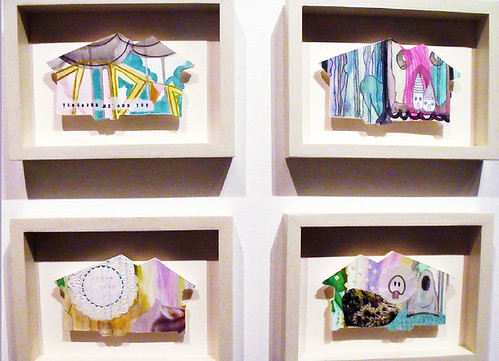
Some of Ann’s work from her MFA thesis exhibition.
I started by collecting fabrics in Ann’s color palette. Ann is a fantastic artist with a definitive style that is cute and sassy at the same time. She loves pastels with bursts of neons, glitter and string, kitch and vintage and clean whites all at once. You can see some of her work on her blog, http://abeautifulparty.blogspot.com/ and in her Etsy Shop, http://www.etsy.com/shop/abeautifulparty.
SUPPLIES
- 5-10 Bedsheets in a variety of colors, patterns and textures to match your desired color scheme
- 1 roll of standard clear packing tape
- pinking shears and/or any sort of sharp scissors or fabric scissors
- white all-purpose thread (or other color to go with your fabric selections)
- Sewing Machine capable of standard straight stitch and/or zig-zag or satin stitch (this is optional–you could complete the entire project by tying knots, but if you have some very basic machine stitch skills, it will make your backdrop a bit more sturdy)
PART I
Make some colorful fabric streamers!!
Step One:
To begin, collect 5 to 10 bedsheets depending on how many colors, patterns and styles you would like to appear in your backdrop. These can be twin, king, queen–whatever–but the bigger they are, the more bang you will get for your buck. You can use fitted and/or flat sheets. I purchased most of mine at Goodwill for about $2.00 each. Small stains and tears are irrelevant and won’t make an impact on the final product, so you can save money and feel good about using up stuff that might otherwise end up in a landfill! You could also get some sheets donated from family and friends for a more personal backdrop and at an even lower cost of FREE!
Step Two:
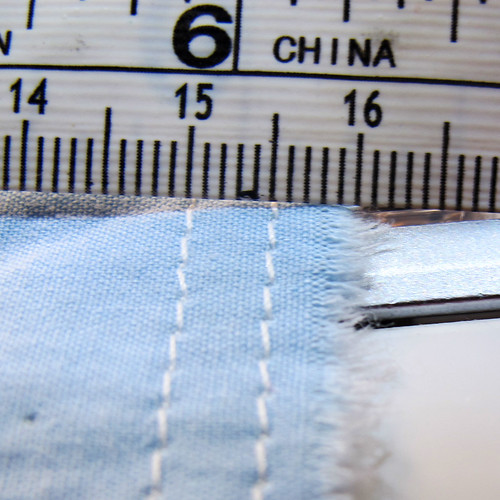
Now, you have to make a decision about how you want the edges of your “streamer” fabric strips to look in the final product. You could either have a feathered, torn edge which takes less time but does unravel a bit at the edges OR could use pinking shears to cut an edge that will keep the unraveling at bay.
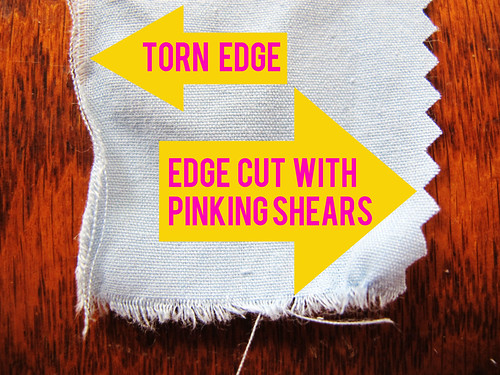
Since I work a lot with torn fabric strips in my crochet creations, I decided to go with tearing the fabric strips. It takes less time, and I don’t mind the unfinished edge. If you want a cleaner or more decorative edge, however, you may use pinking shears to cut the strips. You can see the difference in the image above.
If you want to spend a really long time on this part of the project and make a super-finished edge, I suppose you could also hem all three open ends of each strips, but honestly, who has that kind of time on their hands???!!! Just tear them. It looks fine in the end. I promise.
Step Three:

Next, measure out a space on a floor or table for how long and tall you want your backdrop to be. I made mine about 6 feet tall by 8 feet wide, which seemed to work pretty well. Since I knew my fabric scraps weren’t very tall, I decided to make TWO backdrops and hang them at staggered heights to make my overall backdrop taller.
Step Four:
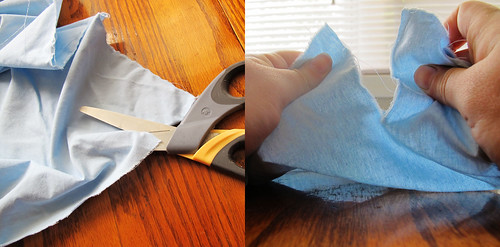
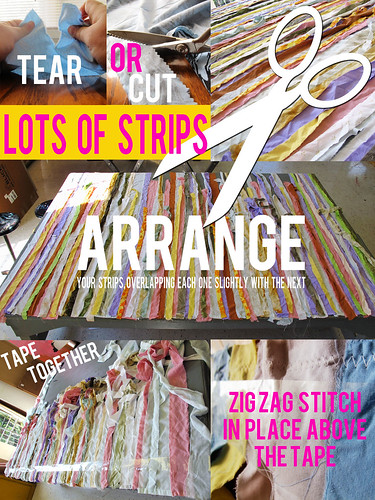
Get to cutting/tearing down strips of fabric! To tear the fabric, use some sharp scissors or straight sewing scissors (NOT your pinking shears) to start a cut about an inch into the fabric in the longest direction. Then grab a hold of each side of the cut and let ‘er rip!! Tear strips in heights varying from about 3 feet to 6 or 8 feet (or however long you can get them out of your sheets). Vary the width of your strips from 1.5 inches to as much as 5 inches, depending on how you want your final product to look. If you are more of a Straight-Laced everything-has-its-right-place kind of person, you could, of course, make all of your strips the same width, length and color… but come on, it’s a party!! Let’s get wild and mix it up.
Step Five:
Begin arranging your strips on the table or floor in the area you marked out for how tall/wide you would like your final backdrop to be. Overlap each strip slightly with the next and pay attention to your selection of colors, textures and patterns. You may want to make small groupings of similar hues juxtaposed with bursts of higher chroma neons or eye-catching patterns. Check out how I arranged mine, or choose a favorite photograph, painting, fabric pattern or other color scheme to give you an idea of which colors might work well together and in what quantity/arrangement.
Make sure and place the top of each strip in an even line along an edge. Strips should overlap slightly, but don’t stack them too deep or your sewing machine won’t be able to handle sewing through the thickness.
Step Six:
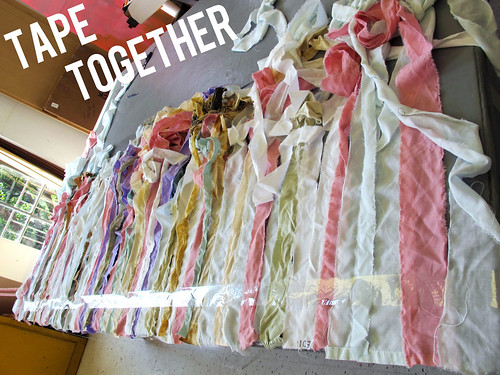
Once you have figured out your final arrangement, use a length of clear packing tape to temporarily secure your strips together a couple inches from the top. This doesn’t work perfectly–some strips may move around a bit–but it will work to keep most of the strips in place while you sew them together. It will also help keep it together if you need to transport the backdrop at this point: just gently fold it in half over and over again long ways, keeping the taped edge all on one end.
Step Seven:
If you are not learned in basic machine stitching or do not have access to a machine, you can skip this step.
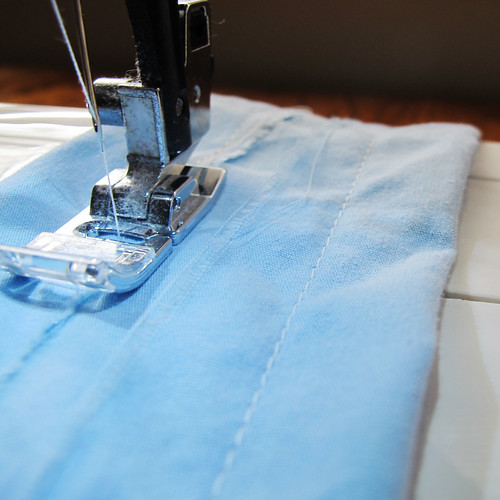
Next, using a sewing machine set on a zig-zag or loose satin stitch, sew across all of the strips about a half and inch from the top, or half an inch to an inch above the clear tape. At this point, you may remove the tape or leave it for a bit of extra stability.
PART TWO
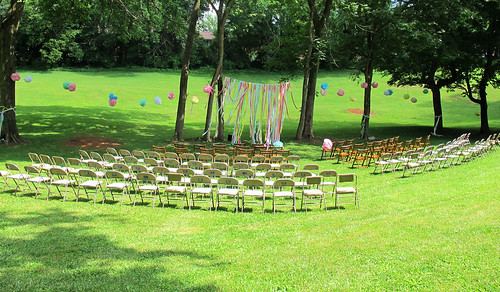
Now, you will need to create a top runner to hold all of your strips together. If you are not using a sewing machine for this project, you may simply use a length of sturdy rope or several long strips cut from your bedsheets tied together that is about 4 feet longer than your total backdrop for your top runner. Then, all you would need to do is tie your fabric strips onto this top rope and your backdrop will be complete!! You can see an example of how to do this on Ann Flower’s blog. She used this method with crepe paper streamers to create a similar backdrop for the wedding ceremony itself. You can see an image of the beautiful bride + flower girl in front of her crepe paper backdrop below.

If you are sewing your backdrop together, however, you will need to create a hemmed length of fabric to stitch your fabric strips into.
Step One:
Cut 4 to 6 lengths from a couple of neutral fabric color bedsheets about 5″ wide and as long as you can make them. Pin these, right sides together into a long strip the width of your backdrop plus enough for about 2 to 3 extra feet on both sides. I chose lavender and white for one and lavender and blue for the second backdrop.
Step Two:
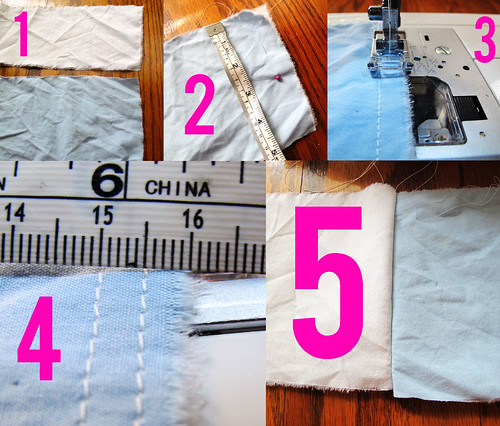
Once you have your 5″ strips pinned right sides together in one long strip, you will next need to sew them together from behind. Using a simple straight stitch, double stitch each seam on the wrong side so that it will open flat to a purty-looking joint. See the images below for details on this simple step. Basically, you want to join all of your strips together with a hidden seam that is doubled-up for extra strength and stability.
As seen in #5 above, in the end you will have nice hidden seams between each of your long color strips. Now you have one really long strip of fabric (about 4 feet longer than your total backdrop) that is created from alternating neutral color strips about 5 inches in width.
Step Three:
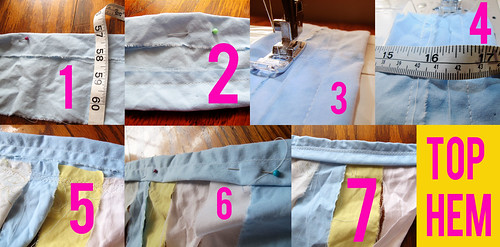
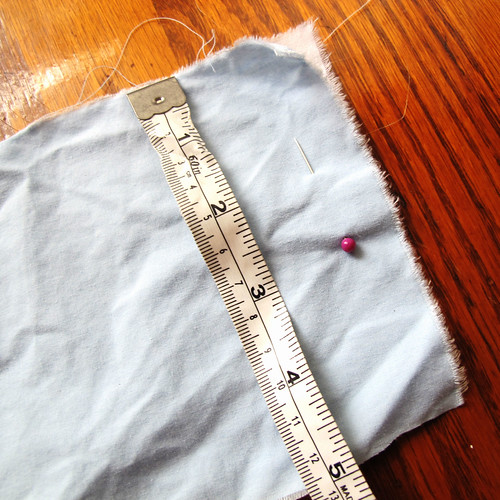
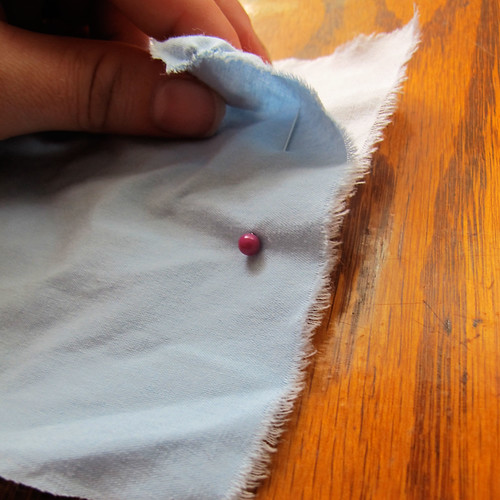
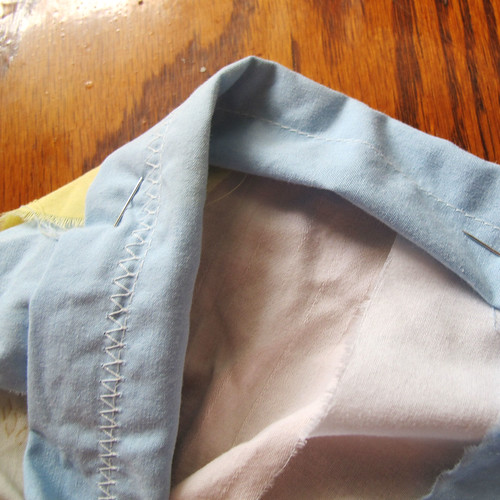
Next you will want to hem the entire length of your strip on the wrong side from both the top AND the bottom. First, fold and pin about an inch down on the back from the upper edge of your strip along the entire length. (as seen in #1 above and in the image below)
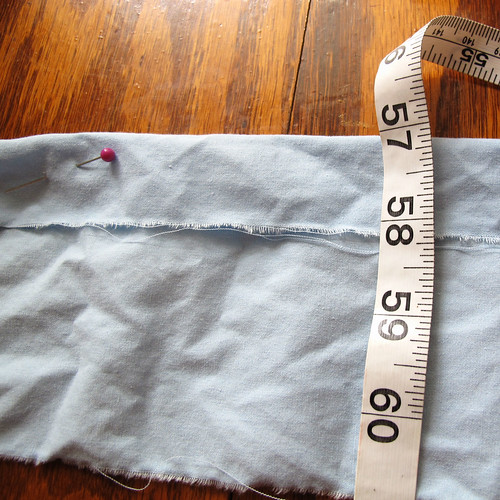
You will then stitch the entire length of your strip along this fold to hem it. If your fabric is especially wrinkly or stiff, you may want to iron this fold down before sewing it on the machine with a straight stitch.
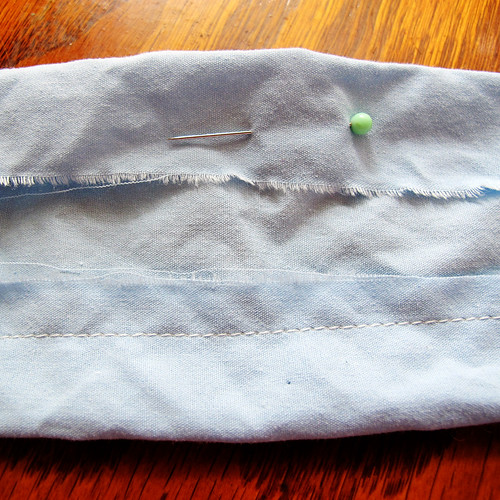
Step Four:
You will now want to do the same thing from the bottom of the strip: pin up about an inch and then straight stitch hem it. This will leave about an inch of extra space between your two hems in the center.

Step Five
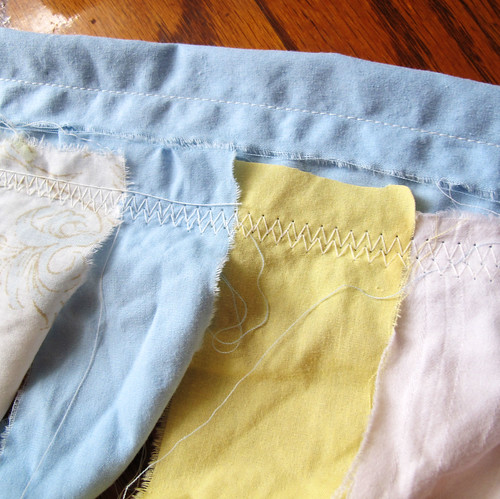
Now, you will be taking your loosely zig-zag stitched together banner of all your color strips and you will be sewing that onto the bottom hem of your upper runner/border strip, as seen in the above image. Using the straight stitch hem line as a guide, zig-sag stitch your backdrop into the upper hem runner.
Make sure and leave about 2 feet on either side of your runner open to give you room to tie up your backdrop. In other words, measure out 2 feet into your top runner before you start sewing your backdrop streamers into the runner.
Step Six
Fold the top part of the runner hem down on top of the stitched-in banner and pin in place. You now have a sandwich made from one piece of “folded-over bread” which is your runner strip, with the “meat” of the sandwich, your streamers, in between.
At this point, hang up your backdrop using some tacks or tie it between two trees and make sure there aren’t any random gaps. You can always sew a few more strips into the mix at this point if you need to flesh out sparse areas. Just tie them into place to get an idea, and then zig-zag stitch them into the mix in the final step as needed.
To finish the backdrop, simply zig-zag stitch the entire length of your “sandwich” from end to end, using the straight stitch on the top seam as a guide. This will secure the whole she-bang together in a very sturdy, thrice-sewn manner that holds up to strong winds in the out-of-doors or curious string-tugging chil’rens in the indoors.

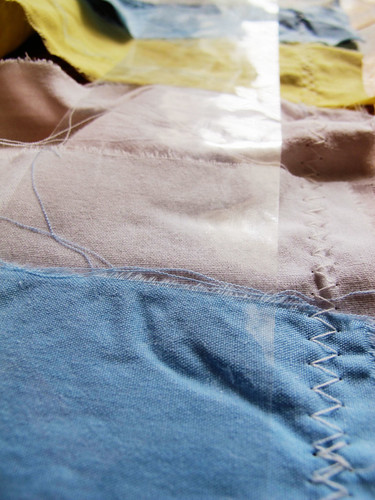
The above image shows how the upper seam will look from front in its final state.
Now that wasn’t so bad, was it?
Now you have a beautiful backdrop that you can hang behind the desserts table at your next party, use as a wedding backdrop for the ceremony or as a photo booth backdrop at any event! You can also hang the backdrop in a room or across a doorway to add some color and softness to your every day living spaces. Blake and I hung up this backdrop in our bedroom after we used it for the wedding photo booth.
In an ideal world, you can tie the backdrop between two trees for outdoors use. Since Blake and I didn’t have this option, we used some 8 foot tall one-by-twos mounted with a screw on scraps of MDF about 2’x2′ and then stabalized with weights at the bottom and some rope with tent stakes (a last minute fix-er-up for the super windy day we were dealing with, idea thanks to the father of the bride!!)
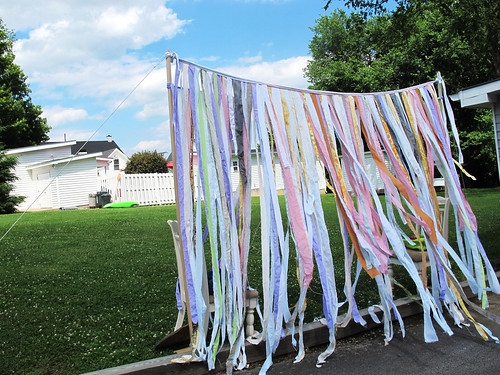
Backdrop hung from one by twos and stabilized with rope and tent stakes.
Check out the images below for a few sneak peeks into how we made use of this easy and inexpensive backdrop. I will post again soon with some more images from the Flowers + Gosser wedding event!!
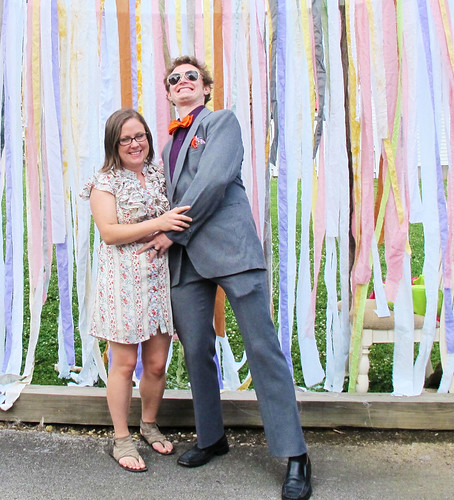
Blake and Me in front of the backdrop!!
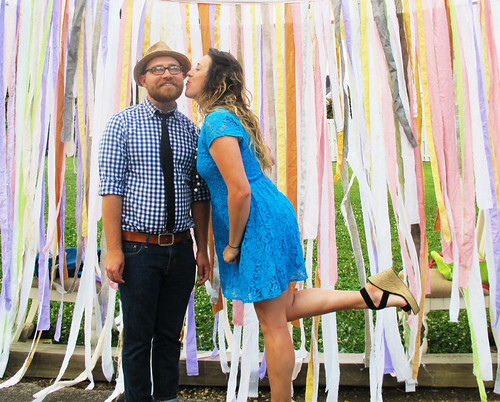
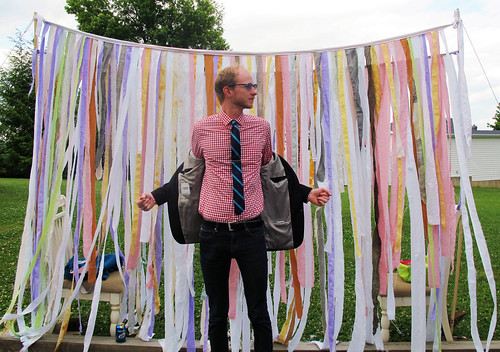
Brad and Adrienne!!
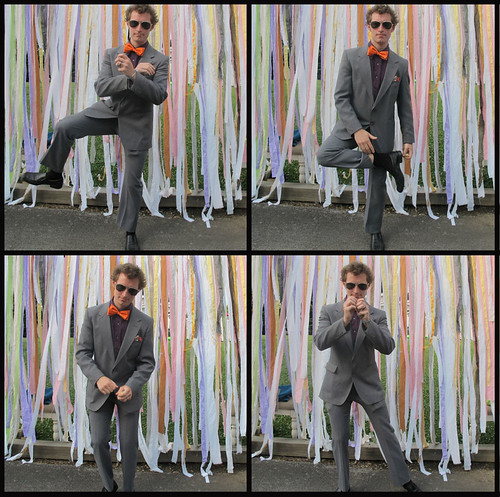
Blake doing a Jig
Now, that’s style!
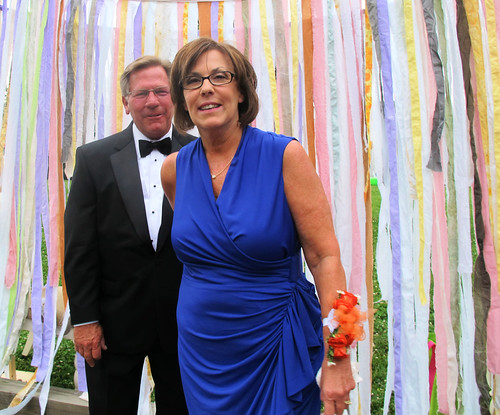
Father + Mother of the Bride! Robert and Mikki Flowers
In a future post, I’ll show y’all more images from the wedding along with all the other cute decorations Ann created such as the ceremony backdrop below!
Nice backdrop & post beef-cakes! I like your bedspread too.
Thanks Hannah-
The post and photos look great. I am linking back to your tutorial in our post which will be going out in the next few weeks.
Hope all is going well. We miss you!
Corrie
Thanks! Miss y’all, too!!
Pingback: More Flowers + Gosser Wedding « Orange Barrel Industries
LOVE the tutorial!! Thanks for the inspiration!!
Thanks for reading! It seemed like a lot of steps when I was writing it, but it’s really not too bad.
Pingback: Fabric garland | Quotes ~ Word that Speaks
Pingback: Orange Barrel Industries » The Quilted Print @ Frogman’s Print Workshops
Pingback: Orange Barrel Industries » Paperworkers Local Workshop: Freak Flags